
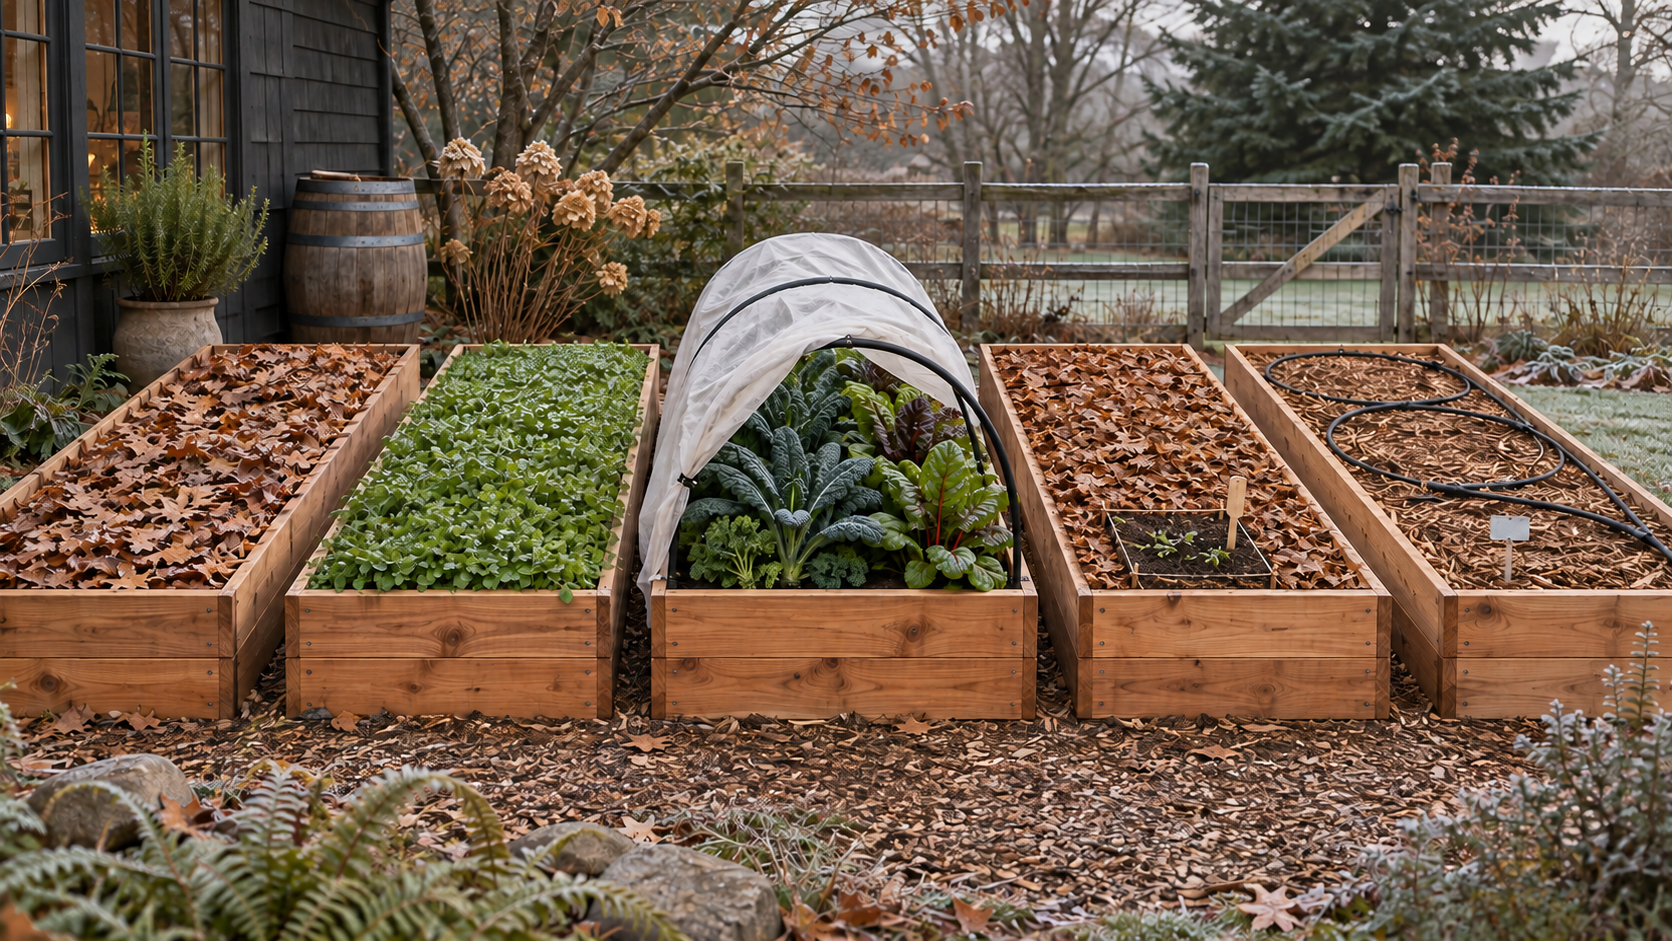
Illustrative image. A real garden may use different states in different beds; confirm the material and crop plan locally.
Winterizing a raised bed is not one last cleanup chore. It is a decision about what the bed needs to do next.
One bed may still be producing. Another may need a clean layer of mulch. A third may have enough time for a cover crop. A wet corner may need to remain marked until you understand why water collects there. Treating every bed the same can hide the very differences that should shape next year’s plan.
The goal is simple: do not leave exposed soil in an accidental state. Choose a winter condition that fits the bed’s climate, drainage, next use, and current plant health.
Start with the reason, not the material
Bare soil can crust, erode, splash onto nearby surfaces, lose organic matter, and grow weeds. Raised beds often drain sooner than in-ground soil, but their exposed sides also let the soil warm and cool more quickly. The correct protection therefore depends on the site rather than on one universal “winterize now” rule.
Before buying mulch, seed, compost, or a cover, answer four questions:
What is the bed doing now? Is it empty, still producing, holding perennial crops, or waiting on a diagnosis?
What winter conditions matter here? Expect long frozen periods, repeated rain, wind, snowmelt, or a mild growing season?
Where does water go? Does the bed drain evenly, stay saturated in one section, or shed water onto a path?
What needs the space next? Will you plant in early spring, late spring, or not until summer?
Those answers narrow the choice before you add anything.
First, finish cleanup without erasing the evidence
Winter protection should not bury a problem you still need to understand.
Remove rotting fruit, mature weeds dropping seed, and annual vegetable debris with clear disease symptoms or heavy pest infestation. Do not assume a cool home compost pile will destroy pathogens or pests. Follow local disposal guidance when material is suspect.
Healthy annual roots can sometimes remain when there is no suspected root disease, soil pest, contamination, or need to inspect the root system. That is a conditional choice, not a rule. Photograph and mark an uncertain area before cutting or pulling anything.
If you have not completed that step, use the fall garden cleanup decision first. It separates what to record, remove, leave, or diagnose. Then return here to choose the bed’s winter state.
Choose one of five winter states
1. Clean and mulched
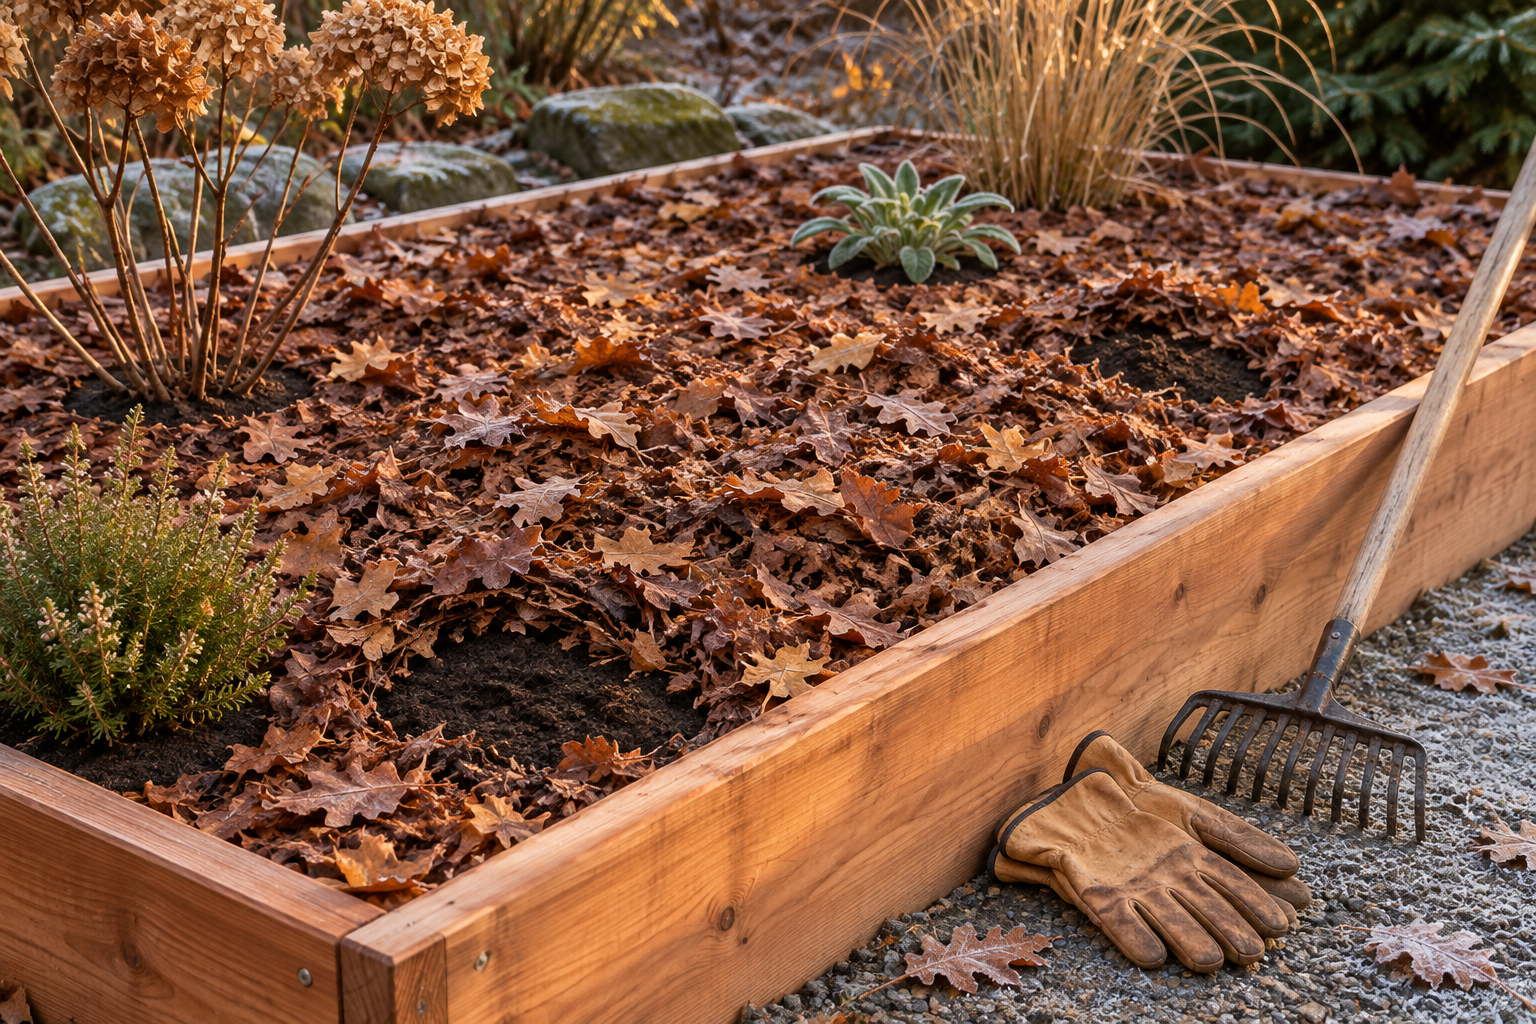
Choose this when the bed is finished for the season, the soil needs surface protection, and you do not have a well-timed cover crop plan.
Use clean, locally suitable material such as shredded leaves, leaf mold, straw that is not carrying unwanted seed, or another recommended organic mulch. A loose layer roughly two to four inches deep is a useful starting point in many vegetable beds, but local wind, rainfall, pests, and material texture change how that layer behaves.
Keep mulch from being packed tightly against perennial crowns or woody stems. In mild, wet gardens, inspect beneath it for slugs and waterlogging instead of assuming more is always better. In windy locations, use a material or light anchoring method that will stay in the bed without sealing the soil.
Mulch is protection, not a blanket amendment prescription. Do not add fertilizer, lime, or a thick compost layer just because the bed is empty.
Recheck: after the first major wind, heavy rain, or thaw. Replace displaced cover, loosen a matted surface if needed, and confirm that water is still leaving the bed.
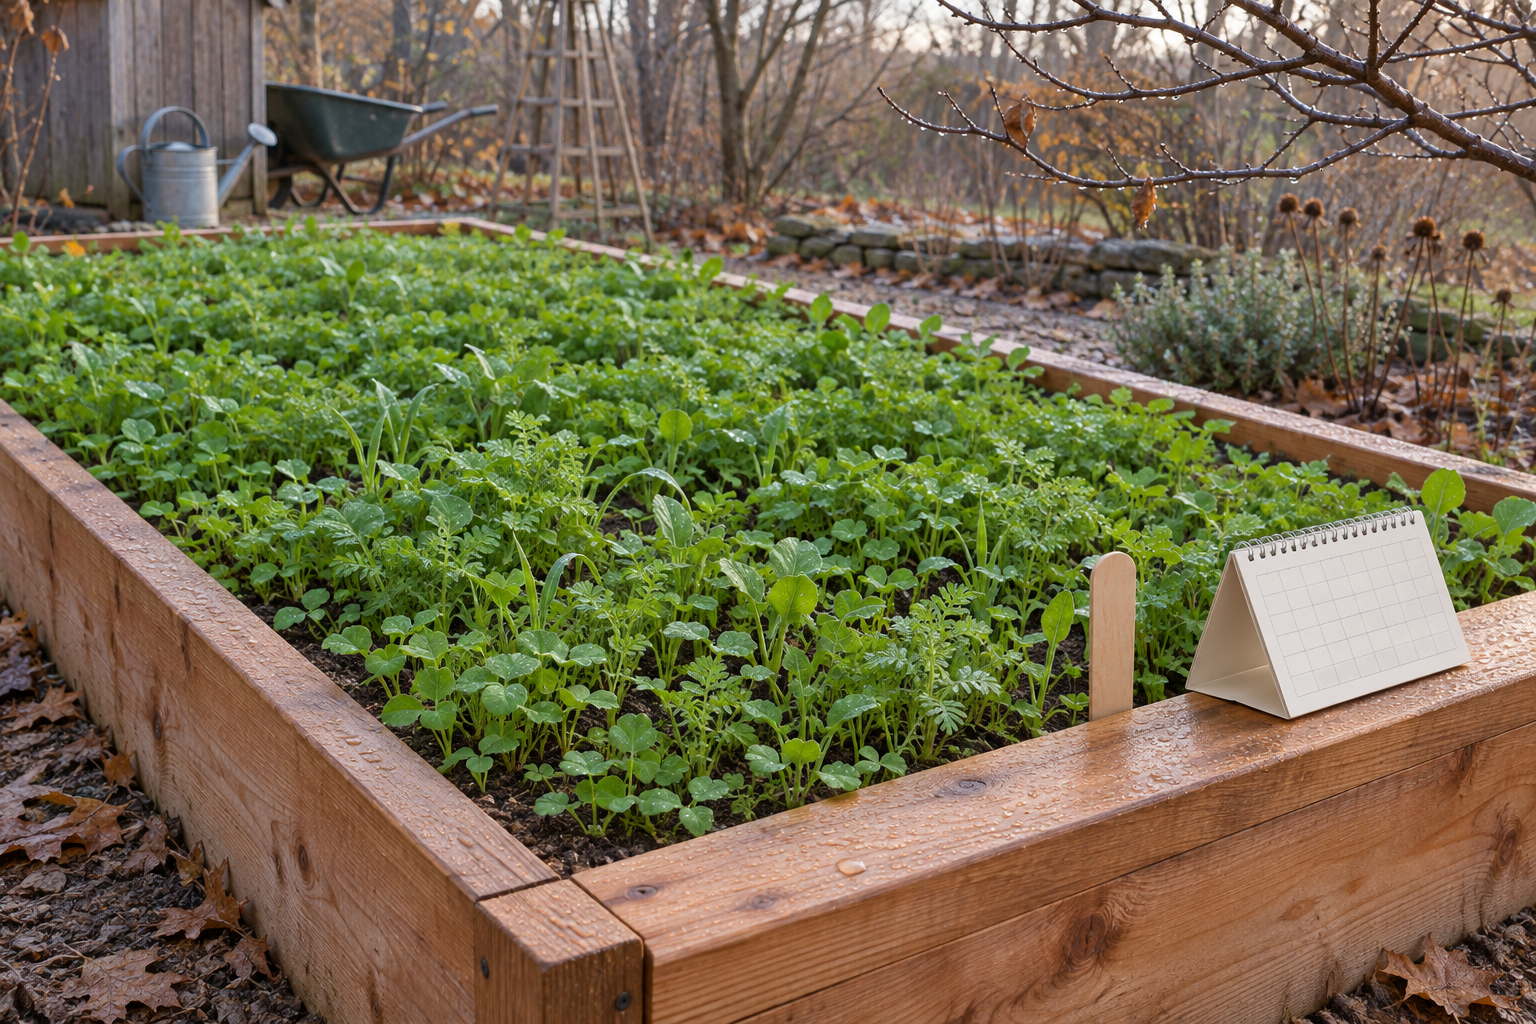
2. Planted with a living cover crop
Choose this only when the crop can establish in your remaining weather window and you already know how and when it will be terminated.
A cover crop can protect soil, hold nutrients, compete with weeds, and add roots or residue. But “cover crop” is not one interchangeable seed mix. Species differ in cold tolerance, drainage needs, growth habit, and whether they die in winter or survive into spring.
Before sowing, verify:
the locally recommended species and planting window;
whether it is expected to winter-kill or regrow;
how wet the bed stays;
the planned spring planting date; and
the termination method and lead time before the next crop.
If the sowing window has passed, do not scatter seed just to avoid bare soil. Poor establishment can leave the bed mostly exposed and create a spring weed or termination problem. Use a clean mulch this winter and plan the cover crop earlier next year.
Recheck: germination and coverage before sustained cold, then survival or regrowth before spring planting. Allow enough time between termination and the next crop for the chosen method and residue to be manageable; local guidance often calls for a multiweek lead time rather than same-day termination and planting.
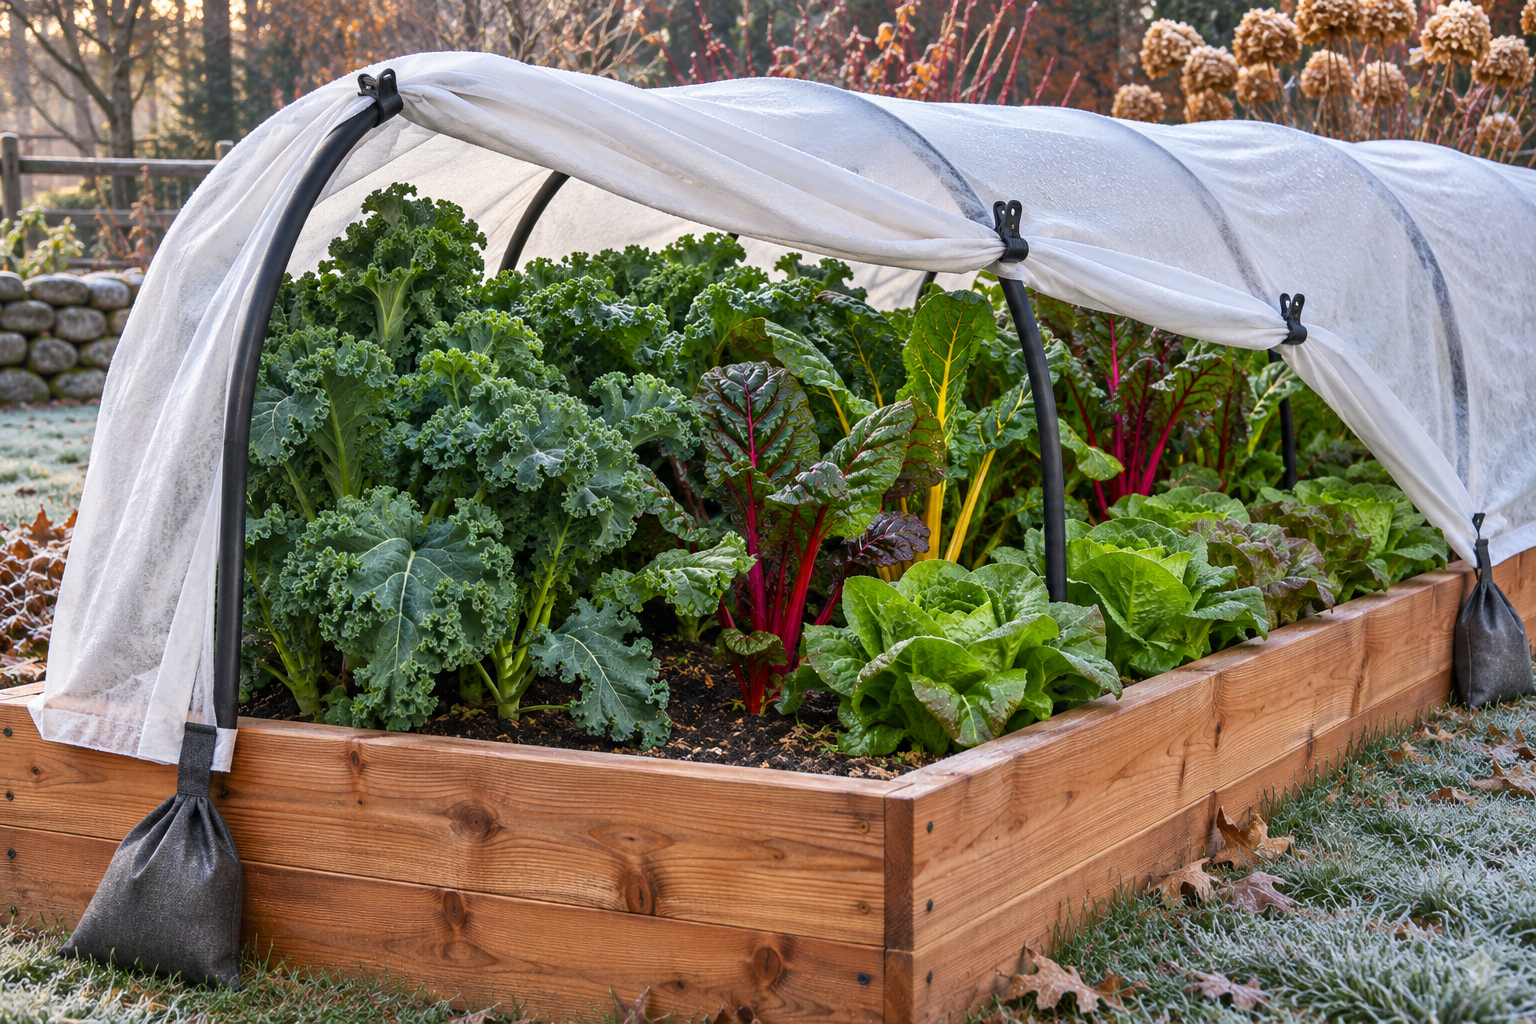
3. Still producing under managed protection
Choose this when an established, locally suitable winter crop has a realistic harvest or overwintering purpose.
Active winter production is more feasible in some mild climates and protected setups than in long-frozen conditions. Even where a crop can survive, growth may slow sharply as light and temperature decline. Protect the crop because the remaining harvest or plant stage is worth managing—not because a cover was available.
Use the crop, forecast, material, and setup to choose protection. Breathable fabric and supported plastic behave differently. Plastic is nonporous and can overheat quickly after sunrise; it requires a frame, ventilation, and active monitoring. Fabric is more forgiving but still needs anchoring and may press on plants when wet or windy.
For the full material decision, use Row Cover, Frost Cloth, or Plastic?. Read the actual product label instead of relying on a generic temperature promise.
Keep the soil surface around active crops covered where appropriate, water according to actual moisture rather than a summer routine, and leave access for harvesting and ventilation.
Recheck: before every meaningful cold event, after wind or snow load, and on sunny mornings when a protected structure can warm rapidly.
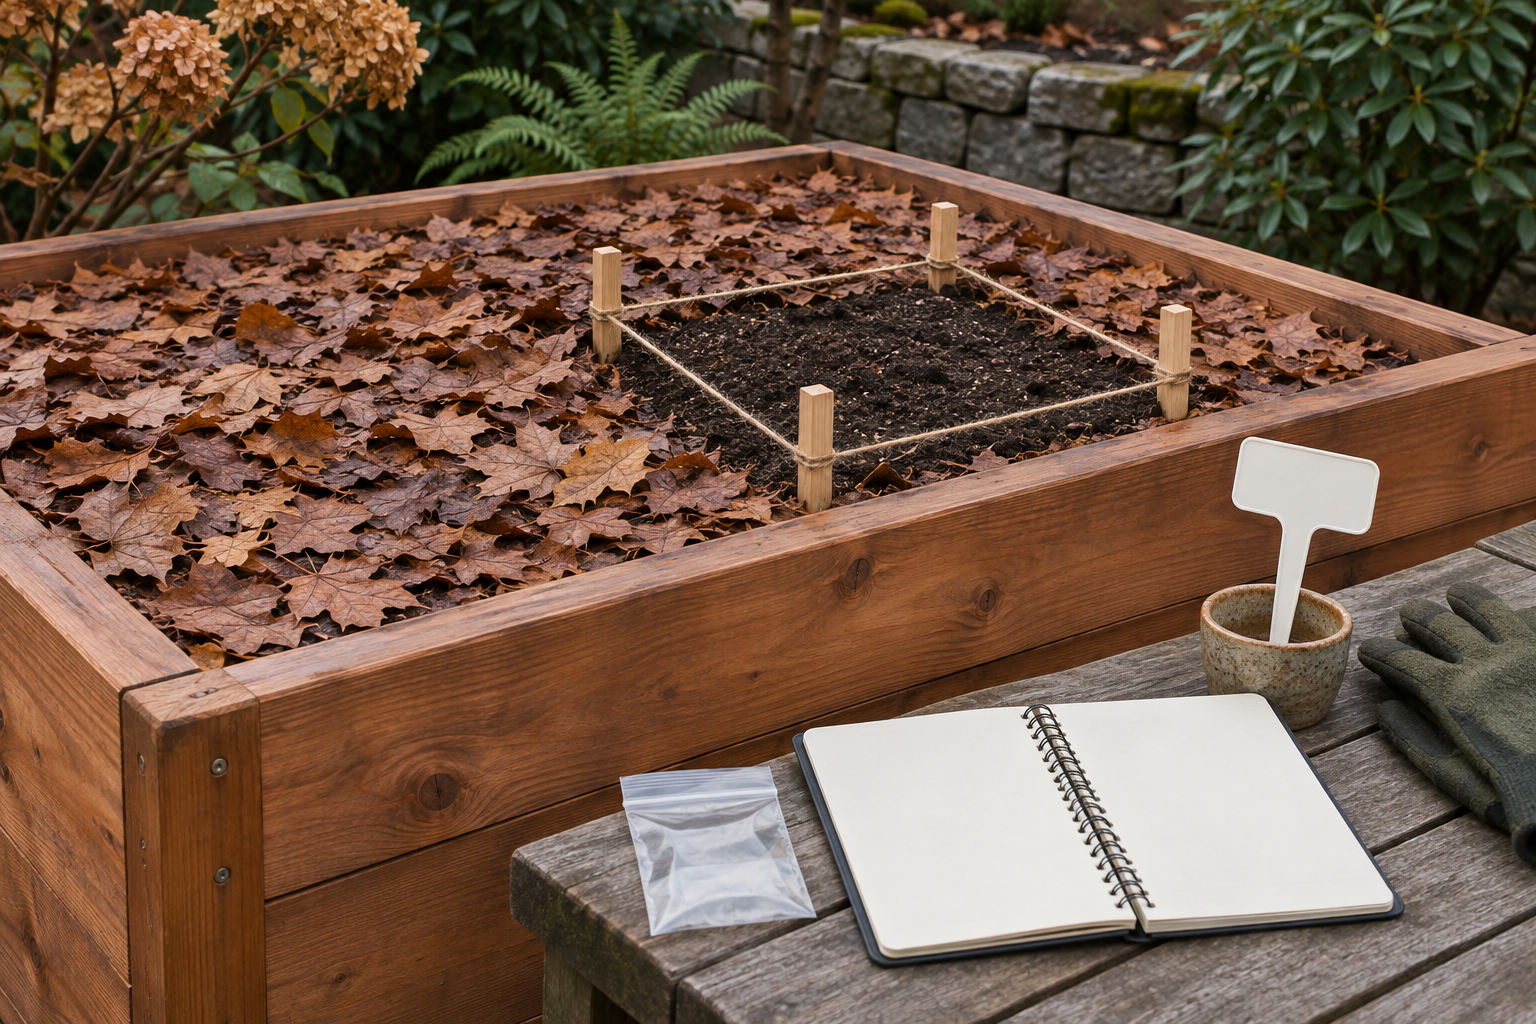
4. Clean, covered, and held for diagnosis
Choose this when one part of the bed behaved differently and the answer could change what you plant or amend next.
Mark the exact section. Photograph the pattern. Record the crop, timing, watering changes, and whether the problem followed one plant, one row, or the whole bed. Remove clearly diseased top growth as appropriate, but avoid mixing the marked soil through the rest of the bed.
Protect the surface with a clean, removable cover while you check local Extension guidance, a diagnostic lab, or a soil test. Do not apply a broad fertilizer, pesticide, or soil replacement as a guess.
Recheck: when results or local guidance arrive, and again before assigning the next crop.
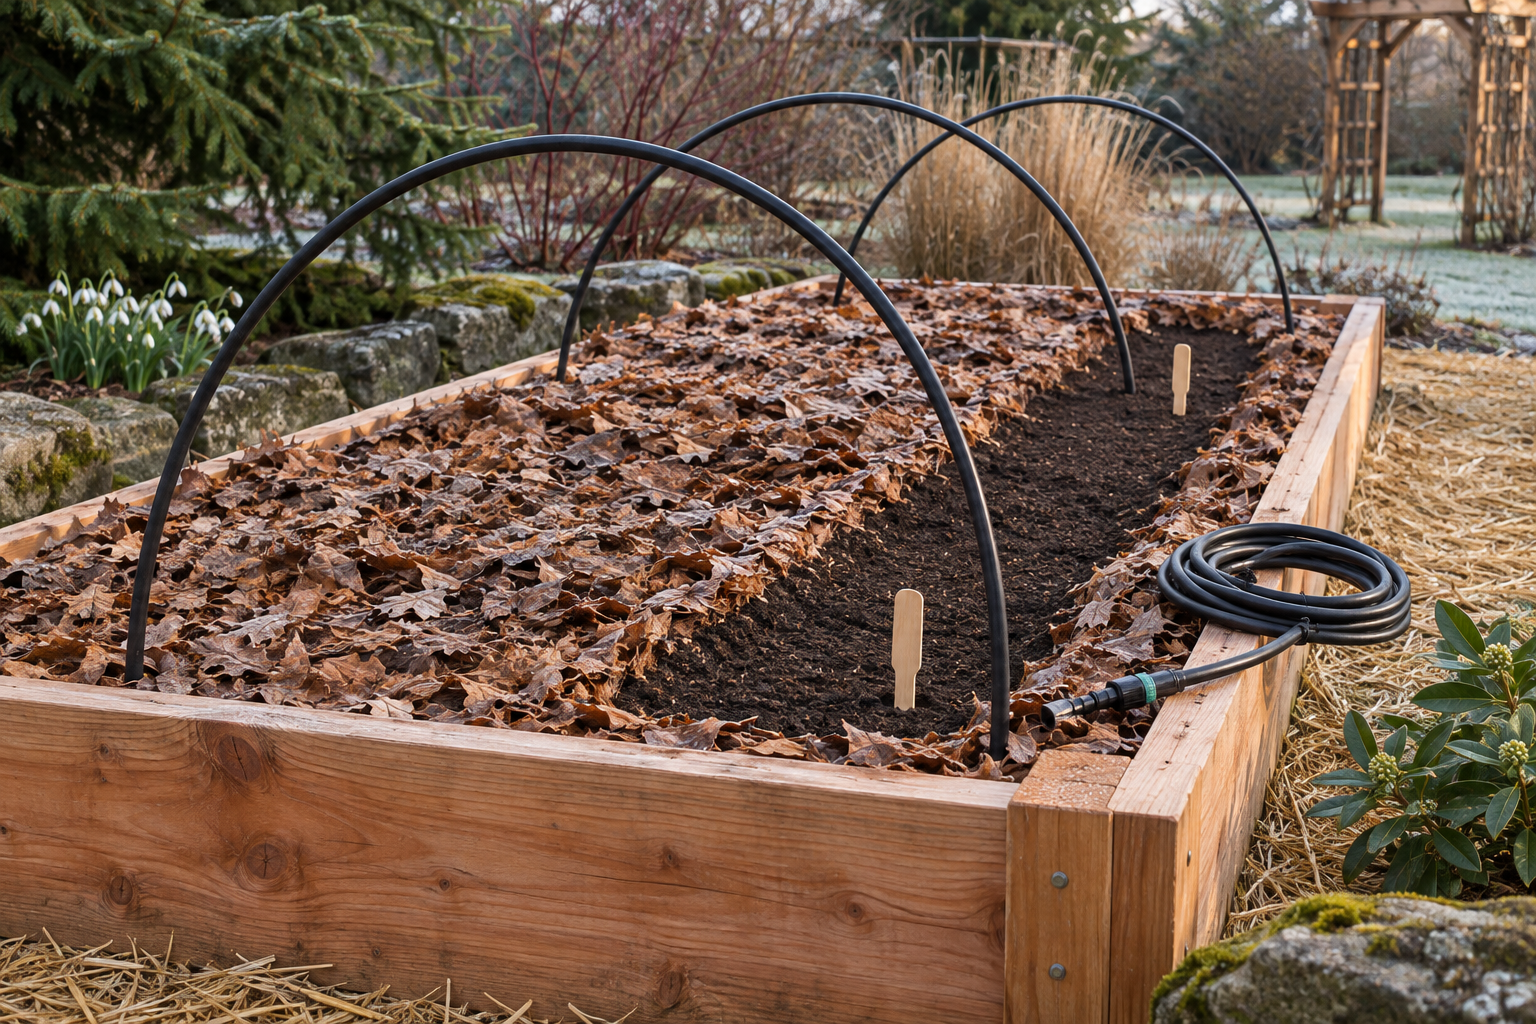
5. Prepared for a specific early planting
Choose this when the bed is clean, the next crop and timing are known, and you need fast access in spring.
Cover the soil, but use a material you can pull back without digging wet ground. Store labels, hoops, or irrigation parts nearby only if they are clean, weather-safe, and will not become a hazard. Record the intended crop and its earliest reasonable planting trigger; a calendar date alone is not enough.
If you plan to add compost, confirm the need and material quality first. Compost contributes nutrients as well as organic matter. Repeated heavy applications can build phosphorus or salts in a raised bed. A soil test and the next crop’s needs should control the rate.
Recheck: several weeks before the planned planting window. Check soil condition, forecast, cover-crop termination if applicable, irrigation, and whether the bed can be worked without smearing or compacting saturated soil.
Match the decision to winter conditions
Climate changes the risks, but it does not replace observation.
Where winter is long and the bed freezes
Prioritize a stable soil cover before freeze-up. A late-sown cover crop may not establish. Snow can insulate the bed, but wind can move both snow and lightweight mulch. Raised-bed soil also experiences faster temperature swings than nearby in-ground soil.
Choose mulch or a properly established living cover, secure anything that can blow, and wait to work soil until it has drained after thaw.
Where winter is mild and wet
Drainage and access matter as much as cold. Repeated rain can saturate low sections, move loose soil, and support slugs beneath dense organic cover. That does not make mulch a mistake; it means the layer and drainage path need inspection.
Use a cover that protects the surface without damming water. Keep paths from channeling runoff into the bed. If you use a living cover, choose one suited to the sowing date and wet conditions, then plan its spring termination.
Where winter vegetables keep growing
Treat the bed as an active garden, not a closed one. Harvest, airflow, moisture checks, and protection still need a routine. Cover the open soil between plants where appropriate, but keep mulch away from crowns and monitor for pests.
Do not seal crops under plastic and walk away. A protected bed can become much warmer than the outdoor air on a sunny day.
Check drainage before you add more material
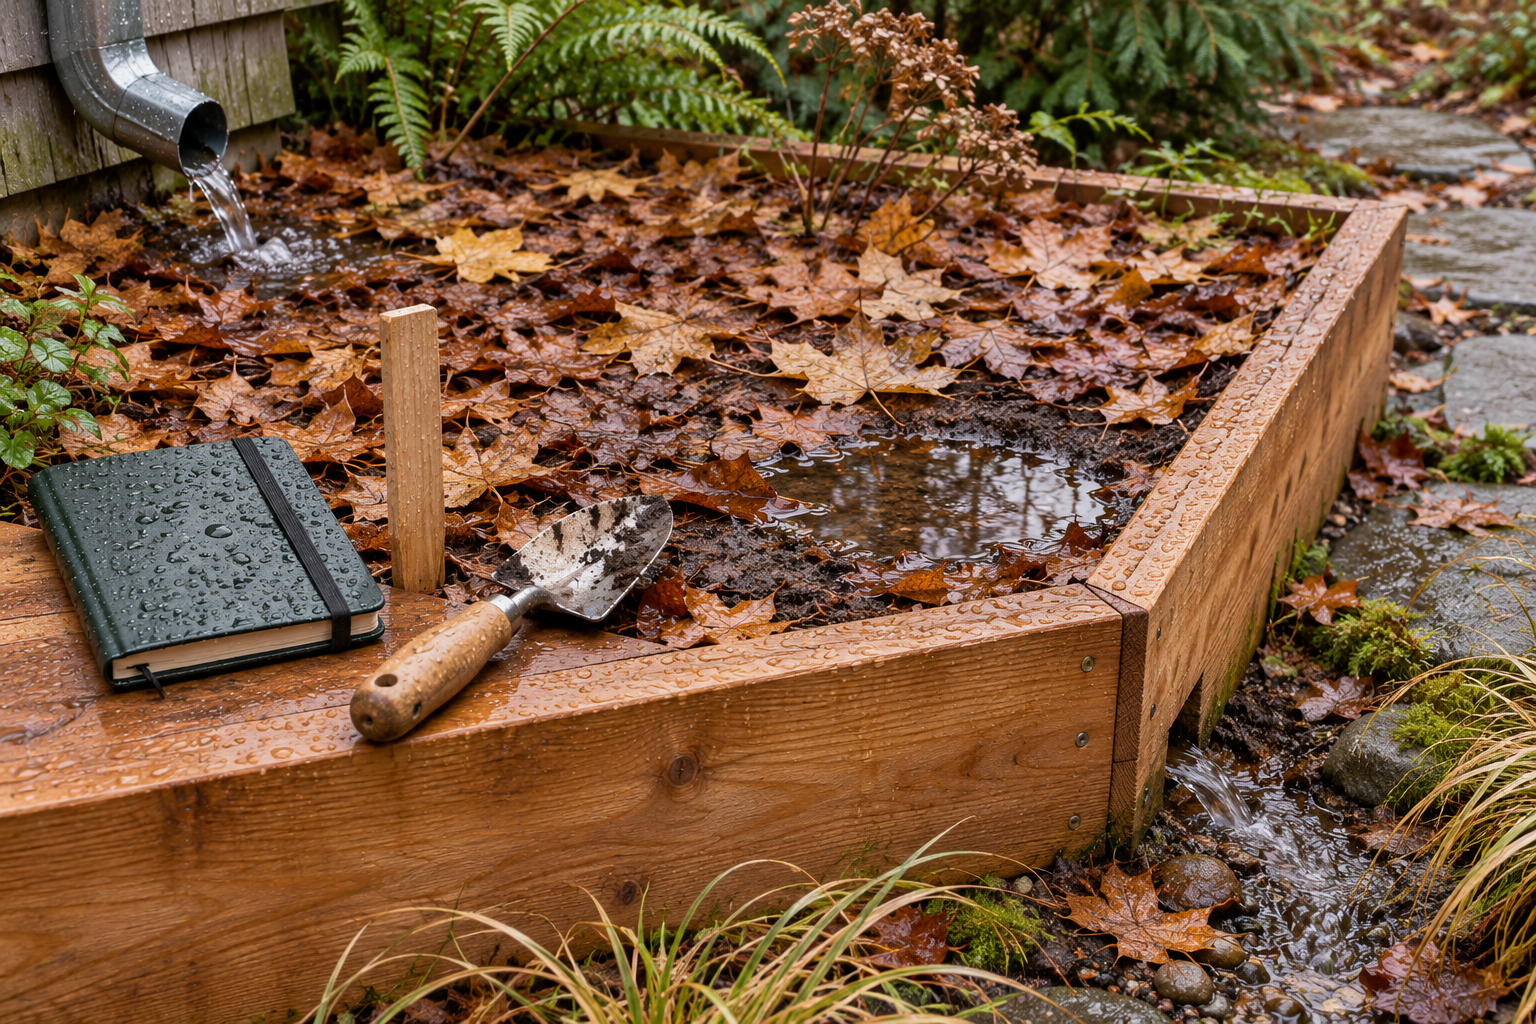
Raised beds are often used to improve drainage, but they can still fail at the surface, the base, or one compacted section.
After a meaningful rain or thaw, look for:
standing water that persists in one location;
a hard or sealed surface that sheds water;
soil washing over the bed edge;
water entering from a roof, slope, or path;
an outlet blocked by leaves, fabric, or a board; or
one zone that stays wet while the rest drains.
Do not dig or till saturated soil to “open it up.” Mark the pattern and address the source. More compost is not a universal drainage repair, and deep disturbance can damage structure.
A 20-minute one-bed winterizing pass
Minutes 1–4: Observe
Photograph the whole bed. Note active crops, bare areas, weeds, diseased debris, standing water, and the direction runoff travels.
Minutes 5–8: Name the next use
Write the next intended crop or purpose and its likely timing. If you do not know, say so; uncertainty is a reason to choose reversible protection, not to make a permanent amendment.
Minutes 9–12: Choose one state
Select: mulched, living cover, active production, held for diagnosis, or prepared for a specific early planting.
Minutes 13–17: Protect the surface
Apply the chosen cover or finish the active-crop setup. Keep labels visible and avoid burying suspect debris.
Minutes 18–20: Set the recheck
Write the trigger: after heavy rain, after first thaw, before the next cold event, when test results arrive, or several weeks before planting.
Before you call the bed ready
You should be able to answer:
What is protecting the soil?
Why does that protection fit this bed and climate?
Where will excess water go?
What material or problem still needs monitoring?
What will grow here next?
When will you recheck or remove the winter cover?
If those answers exist, the bed is not merely covered. It has a managed winter state and a clear path into spring.
Use the One-Bed Winterizing Plan
The companion One-Bed Winterizing Plan turns these five states into a one-page decision and a one-page recheck record. Use one copy per bed so different conditions do not disappear into one garden-wide rule.
If a crop-family or diagnosed problem should affect next year’s placement, continue with Plan Next Year Without Repeating Crop-Family Problems. It helps screen next season’s bed assignment without promising that rotation alone will prevent pests or disease.
Sources and further reading
University of Minnesota Extension: “Fall garden care that pays off” and “Raised bed gardens.”
Oregon State University Extension: “Winter Vegetable Production on Small Farms and Gardens West of the Cascades,” “Improving Garden Soils with Organic Matter,” and “Can I plant a cover crop in late December?”
Ontario Ministry of Agriculture, Food and Rural Affairs: soil erosion and vegetable-production guidance.
Government of British Columbia: cover-crop selection and home garden soil/compost guidance.
University of Saskatchewan Gardening: mulch and no-till vegetable-garden guidance.
Garden conditions vary. Confirm crop, cover-crop, compost, mulch, and protection choices with current local Extension or provincial guidance, the actual product or seed label, and observations from your bed.